
HTML Course Lesson 3: How to Add Image in HTML for Beginners
January 9, 2026 2026-06-17 12:08HTML Course Lesson 3: How to Add Image in HTML for Beginners
HTML Course Lesson 3 for beginners explains how to add images in HTML using the img tag. Learn src, width attributes with simple examples and browser preview.
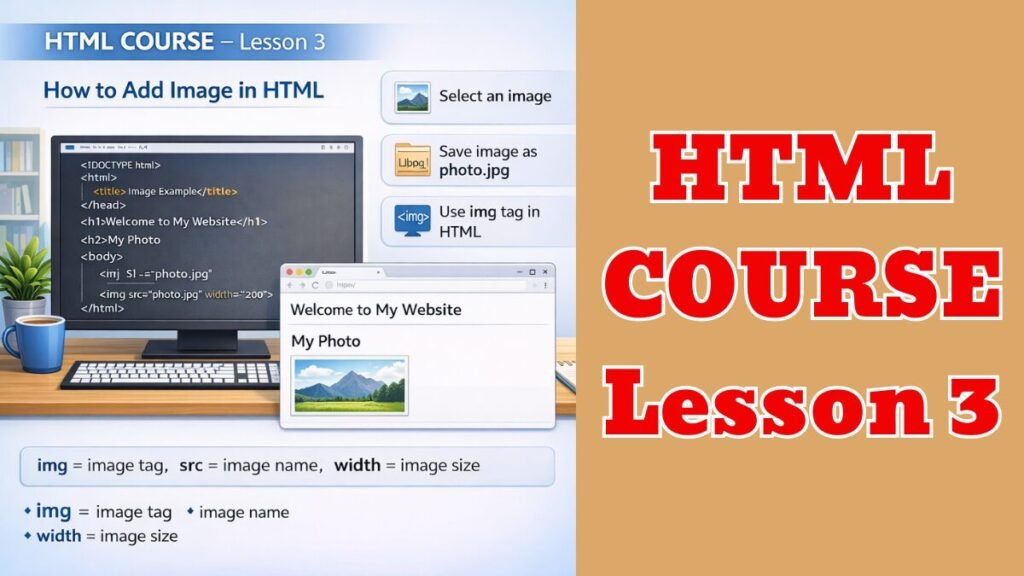
👉 Image लगाना
🖼️ STEP 1: Image तैयार करें
- कोई भी Photo / Image चुनिए
- उसे index.html वाली जगह (Folder) में रख दीजिए
- Image का नाम रखें: photo.jpg
(simple नाम रखें)
📄 STEP 2: index.html खोलिए
- Right Click → Open with → Notepad
✍️ STEP 3: ये Code लिखिए
(Body के अंदर)
<h2>My Photo</h2>
<img src=”photo.jpg” width=”200″>
पूरा Example 👇
<!DOCTYPE html>
<html>
<head>
<title>Image Example</title>
</head>
<body>
<h1>Welcome to My Website</h1>
<h2>My Photo</h2>
<img src=”photo.jpg” width=”200″>
</body>
</html>
💾 STEP 4: Save & Open
- Ctrl + S
- File बंद करें
- index.html पर Double Click
🧠 समझिए
- <img> = Image tag
- src = Image का नाम
- width = Image का size
Read More: HTML Course Lesson 2: Text Formatting in HTML for Beginners…